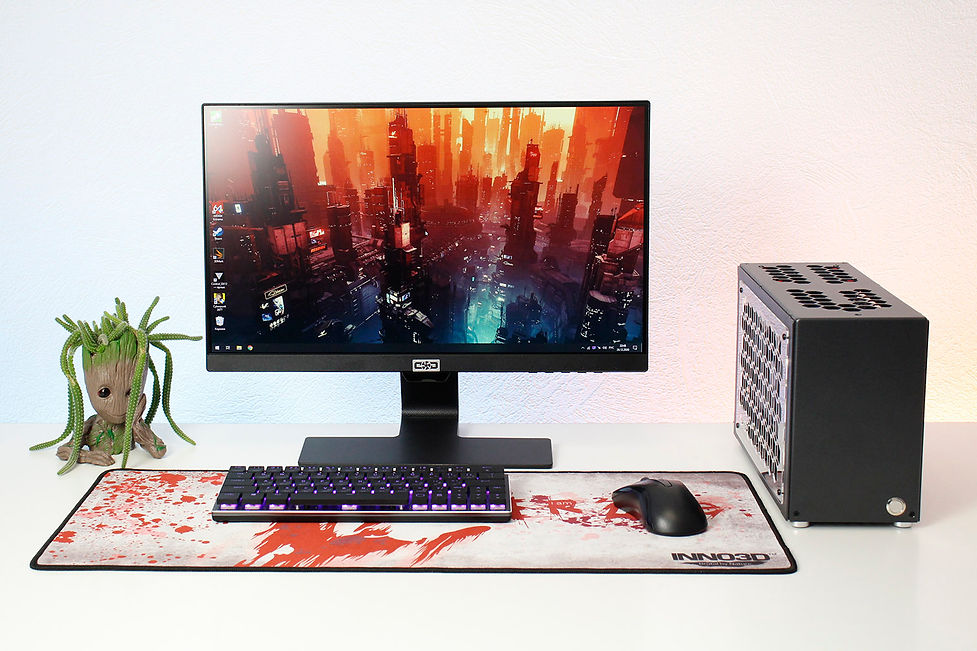
Support page for
of SX2 7.5L cases
Assembling a computer requires certain knowledge and skills! This brief instruction shows the assembly sequence and is designed for the user who has already assembled computers .
And also, the body in these photos may be a little different from what you have, it happens, I make some changes in almost every batch.

-
Preparation.
Remove the screws that hold the covers in place at the bottom of the case and at the back. Push the covers aside and remove them. Make sure your components match the SX2 7.5L chassis specification. If you have doubts, you can contact us for help.


-
Installation of the Power Supply Unit.
The case is compatible with the SFX and SFX-L PSU (Power Supply Unit) formats (when installing the SFX-L PSU format, you will not be able to install LCS, see point 4) If your PSU has a modular cable connection, connect only those that are necessary. Unscrew the screws securing the bracket for the PSU, screw this bracket to the PSU using the screws or the PSU. Connect the power cable to the C14 socket on the PSU, then insert the PSU with the bracket into the case and screw it into place. There are two types of internal power cable: -
- Type A -
Silverstone: SX1000; SX800-LTI; SX750; SX600-G; NJ450-SXL; ST45SF-G
Chieftec: Compact series; SFX-350BS-L; SFX-500GD-C
Seasonic Focus
Lian-Li
Thermaltake Toughpower
Enermax
Fractal Design ION
IN WIN BN / CN -
- Type B -
Silverstone: SX700-PT; SX700-LPT; SX700-G; SX650-G; SX550; SX500-G; SX500-LG; SX450-B; ST45SF; SX300-B; ST30SF
Chieftec SFX-250VS; SFX-350BS; SFX-450BS; SFX-450BS;
Corsair SF
be quiet!
Zalman ZM-FX
FSP sfx PROEVGA SuperNOVA
AeroCool SX
IN WIN CS
Kolink
Cooler Master V

-
Installing a 92mm fan.
Skip this step if you don't plan to mount the case fan on top.
Several fans can be installed in the case. One at the top above the motherboard measuring 92x92x14mm, the other under the motherboard (see point 5). Before installation, screw the grill grill to the fans. Put the fan inside the case and screw it.

-
Installing the motherboard (MB).
Read the instructions for your MB. For your convenience, install everything you need on it (CPU, CPU cooler, RAM, NVMe drive, if used. Follow the instructions of the component manufacturer). Install the plug in the case, if it is not fixed on the motherboard, before mounting the MB. Screw the MB to the case using the screws and a magnetic screwdriver. Connect the PCIe riser cable to the MB if you plan to install a video card.

-
Installation of a liquid cooling system (LCS).
Skip this step if you plan to use an air cooler.In this case, you can install a compact LCS for the CPU, for example Asetec 645LT. Install the radiator with a 92mm slim fan (use the grill to protect the fan) under the SFX format PSU (the SFX-L format is NOT compatible!) For a more convenient installation of the radiator, unscrew the screws from the front and bottom of the case. Carefully separate the housing elements, start the radiator and fix it. Fold the case and tighten the screws.


-
Installation of 2.5" drives.
Skip this step if you do not plan to use a 2.5" drive. Connect the interface to the drive. Screw the brass racks to the drive, and then screw it to the case. Also, instead of the 2.5" drive, a 92x92mm fan can be installed in the case. We recommend installing a grill on top of the fan to prevent wires from getting into the fan.

-
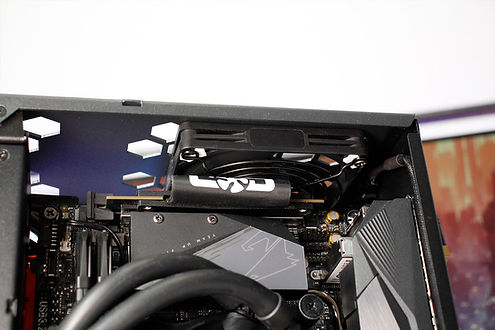
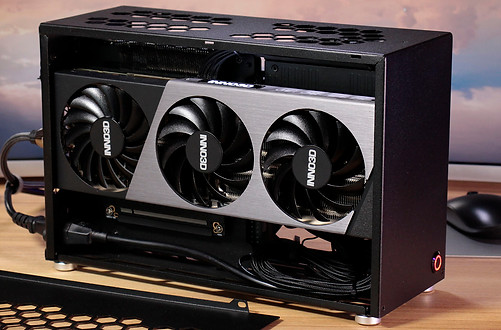
Video card installation.
Skip this step if you do not plan to use a video card. Connect the additional power supply of the video card, if it is provided by the manufacturer of the video card (see the instructions for installing your video card in the package of delivery of the video card) before installing it. Insert the video card into the case, install the cable in the PCIe x16 riser connector as far as it will go. Push the loop back. Fasten the video card with screws using a magnetic screwdriver.

-
Final Assembly.
Carefully route all cables using nylon cable ties. Check that all cables are connected, including the Power button cable. Start the computer and make sure that all the fans can work freely and nothing is obstructing them. Now you can install the covers by screwing them on.